Wound, balanced, proven.
Winding, assembly, balancing and test run in one building, so a drawing and its motor never travel far apart. Each stage settles part of the motor for good, and the last one proves it.
Four stages. No shortcuts.
The order below is the order on the floor. A motor cannot skip forward: nothing is potted before its winding is checked, nothing is boxed before its numbers are taken.

Stator winding
Copper is laid onto the stator teeth at the turn count and wire gauge the design asks for, and slot fill is checked before the stator moves on.
Fixes: Kv · phase resistance · continuous current

Stator assembly
The wound stator is insulated, terminated and potted into its housing, giving winding heat a solid path from copper to case.
Fixes: Insulation class · continuous torque
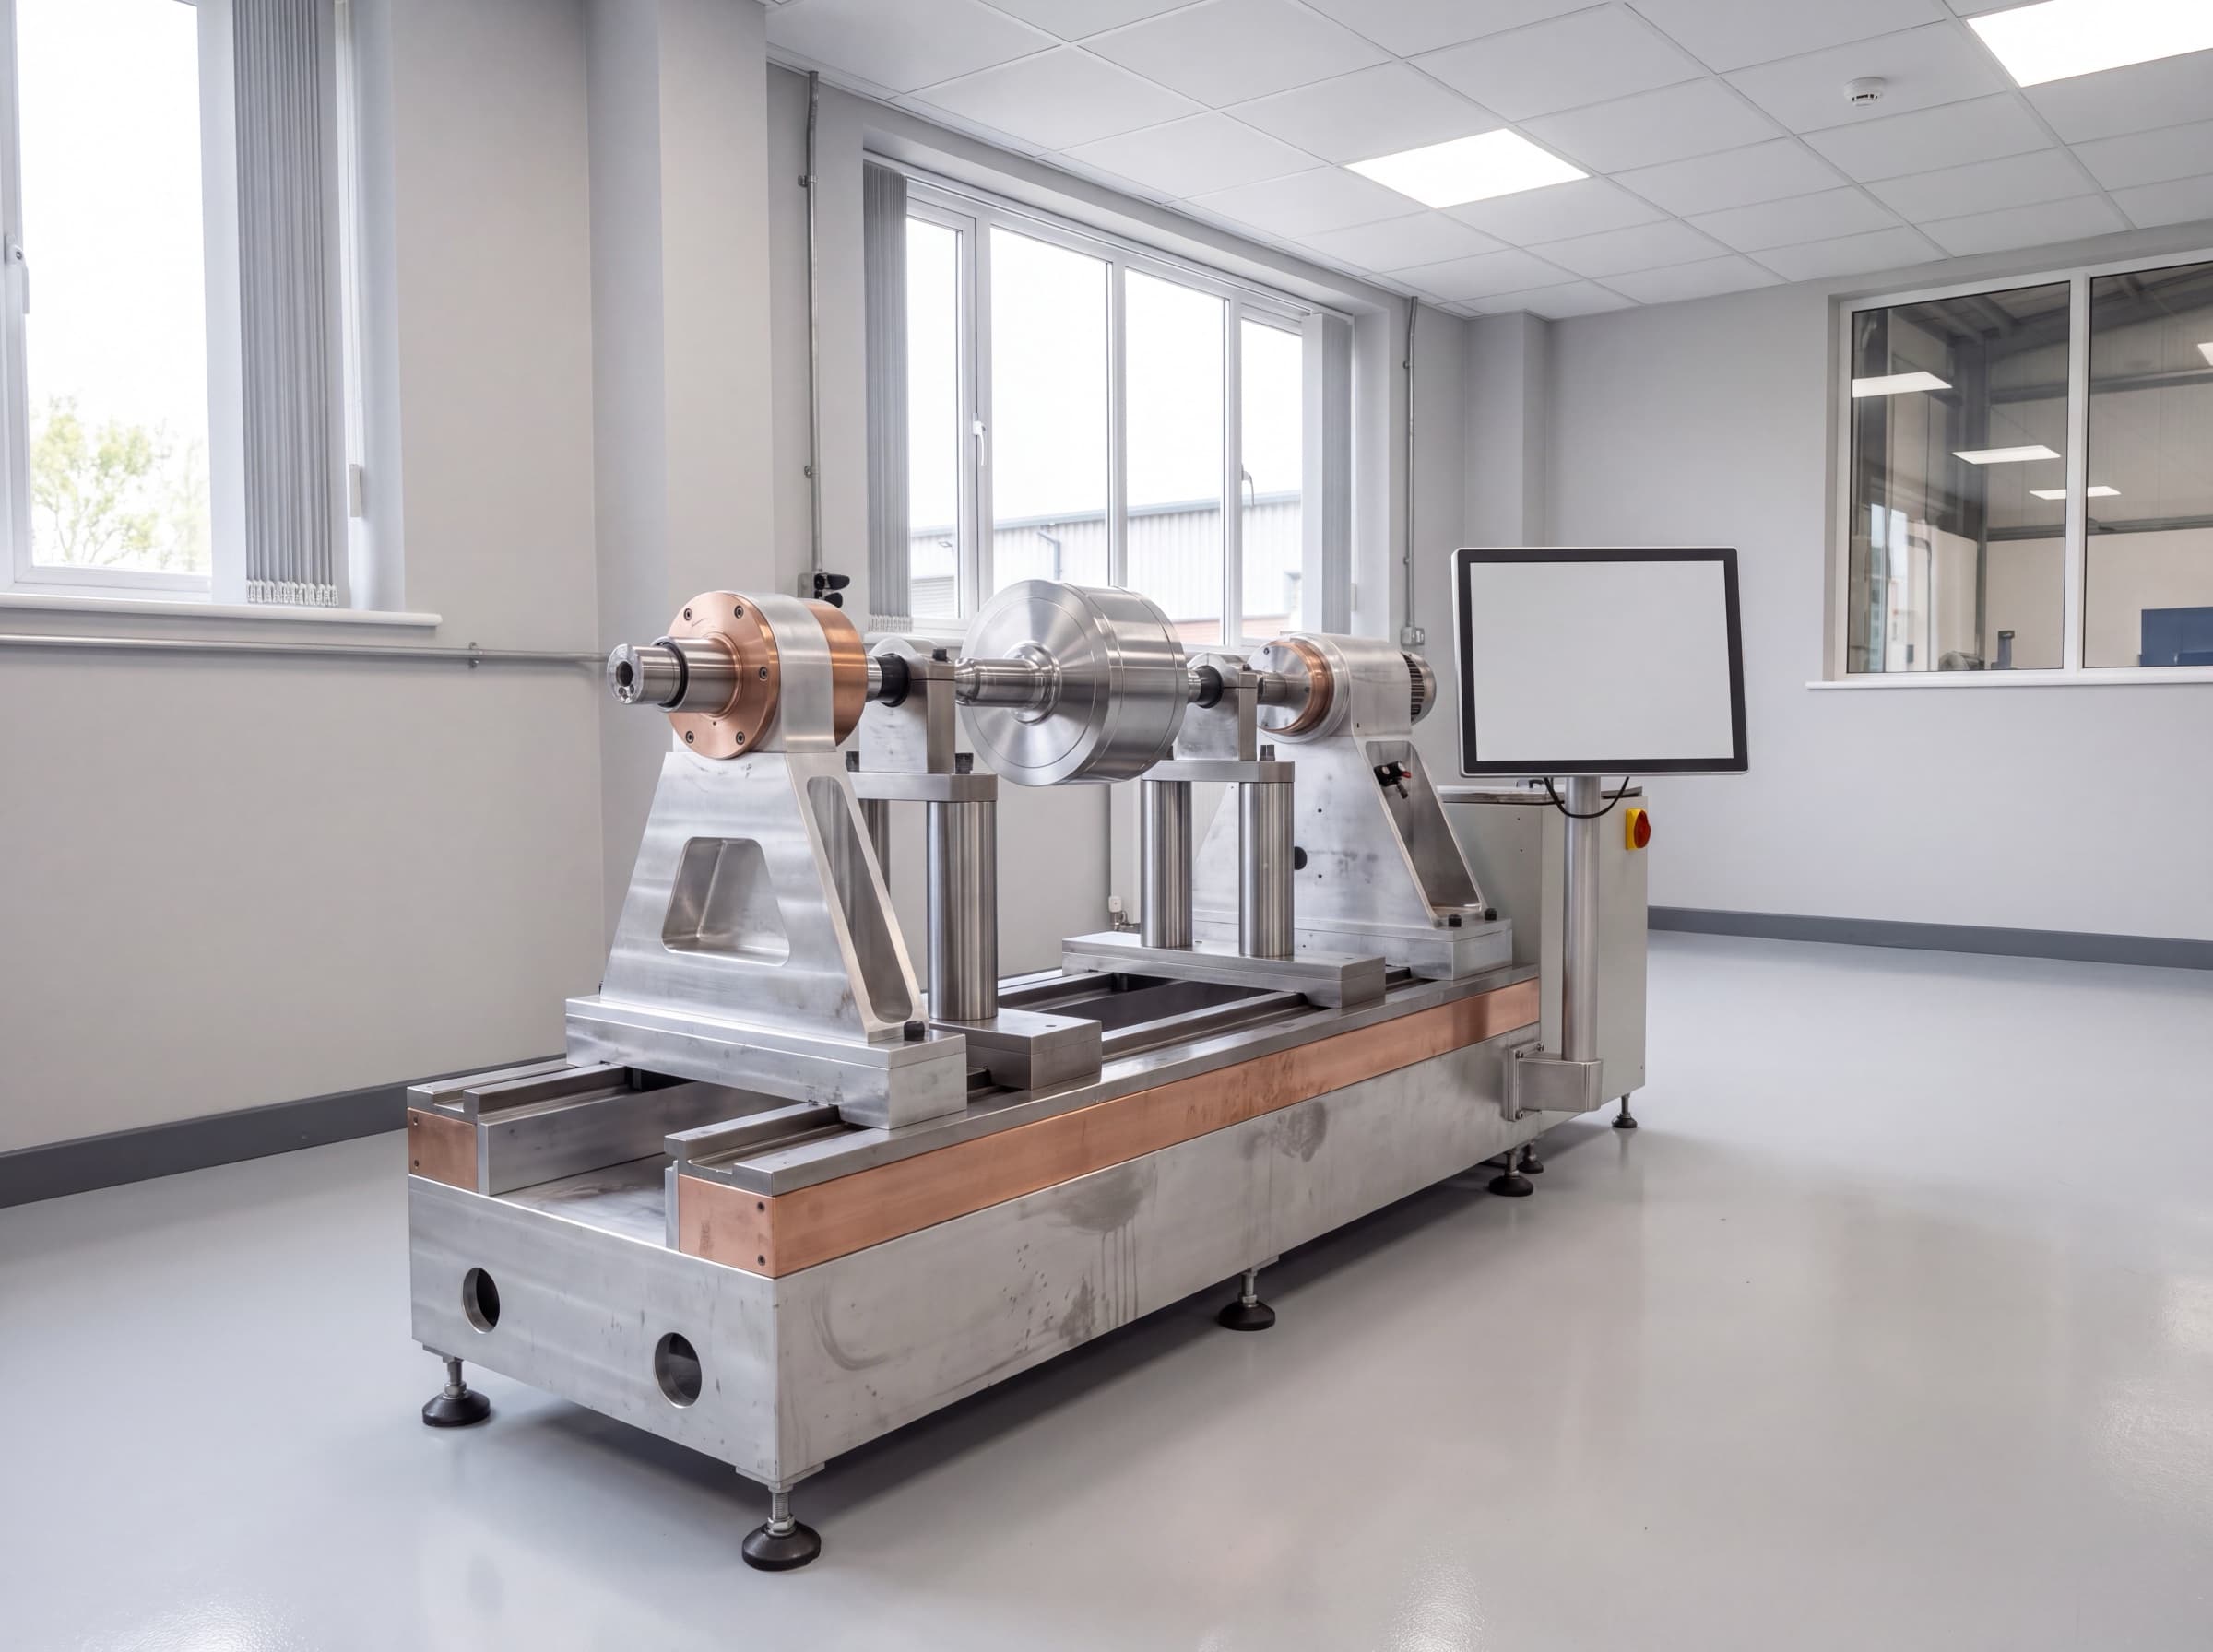
Balancing
Magnets are bonded, then the complete rotor is spun and corrected until residual imbalance sits inside the design limit.
Fixes: Residual imbalance · bearing life
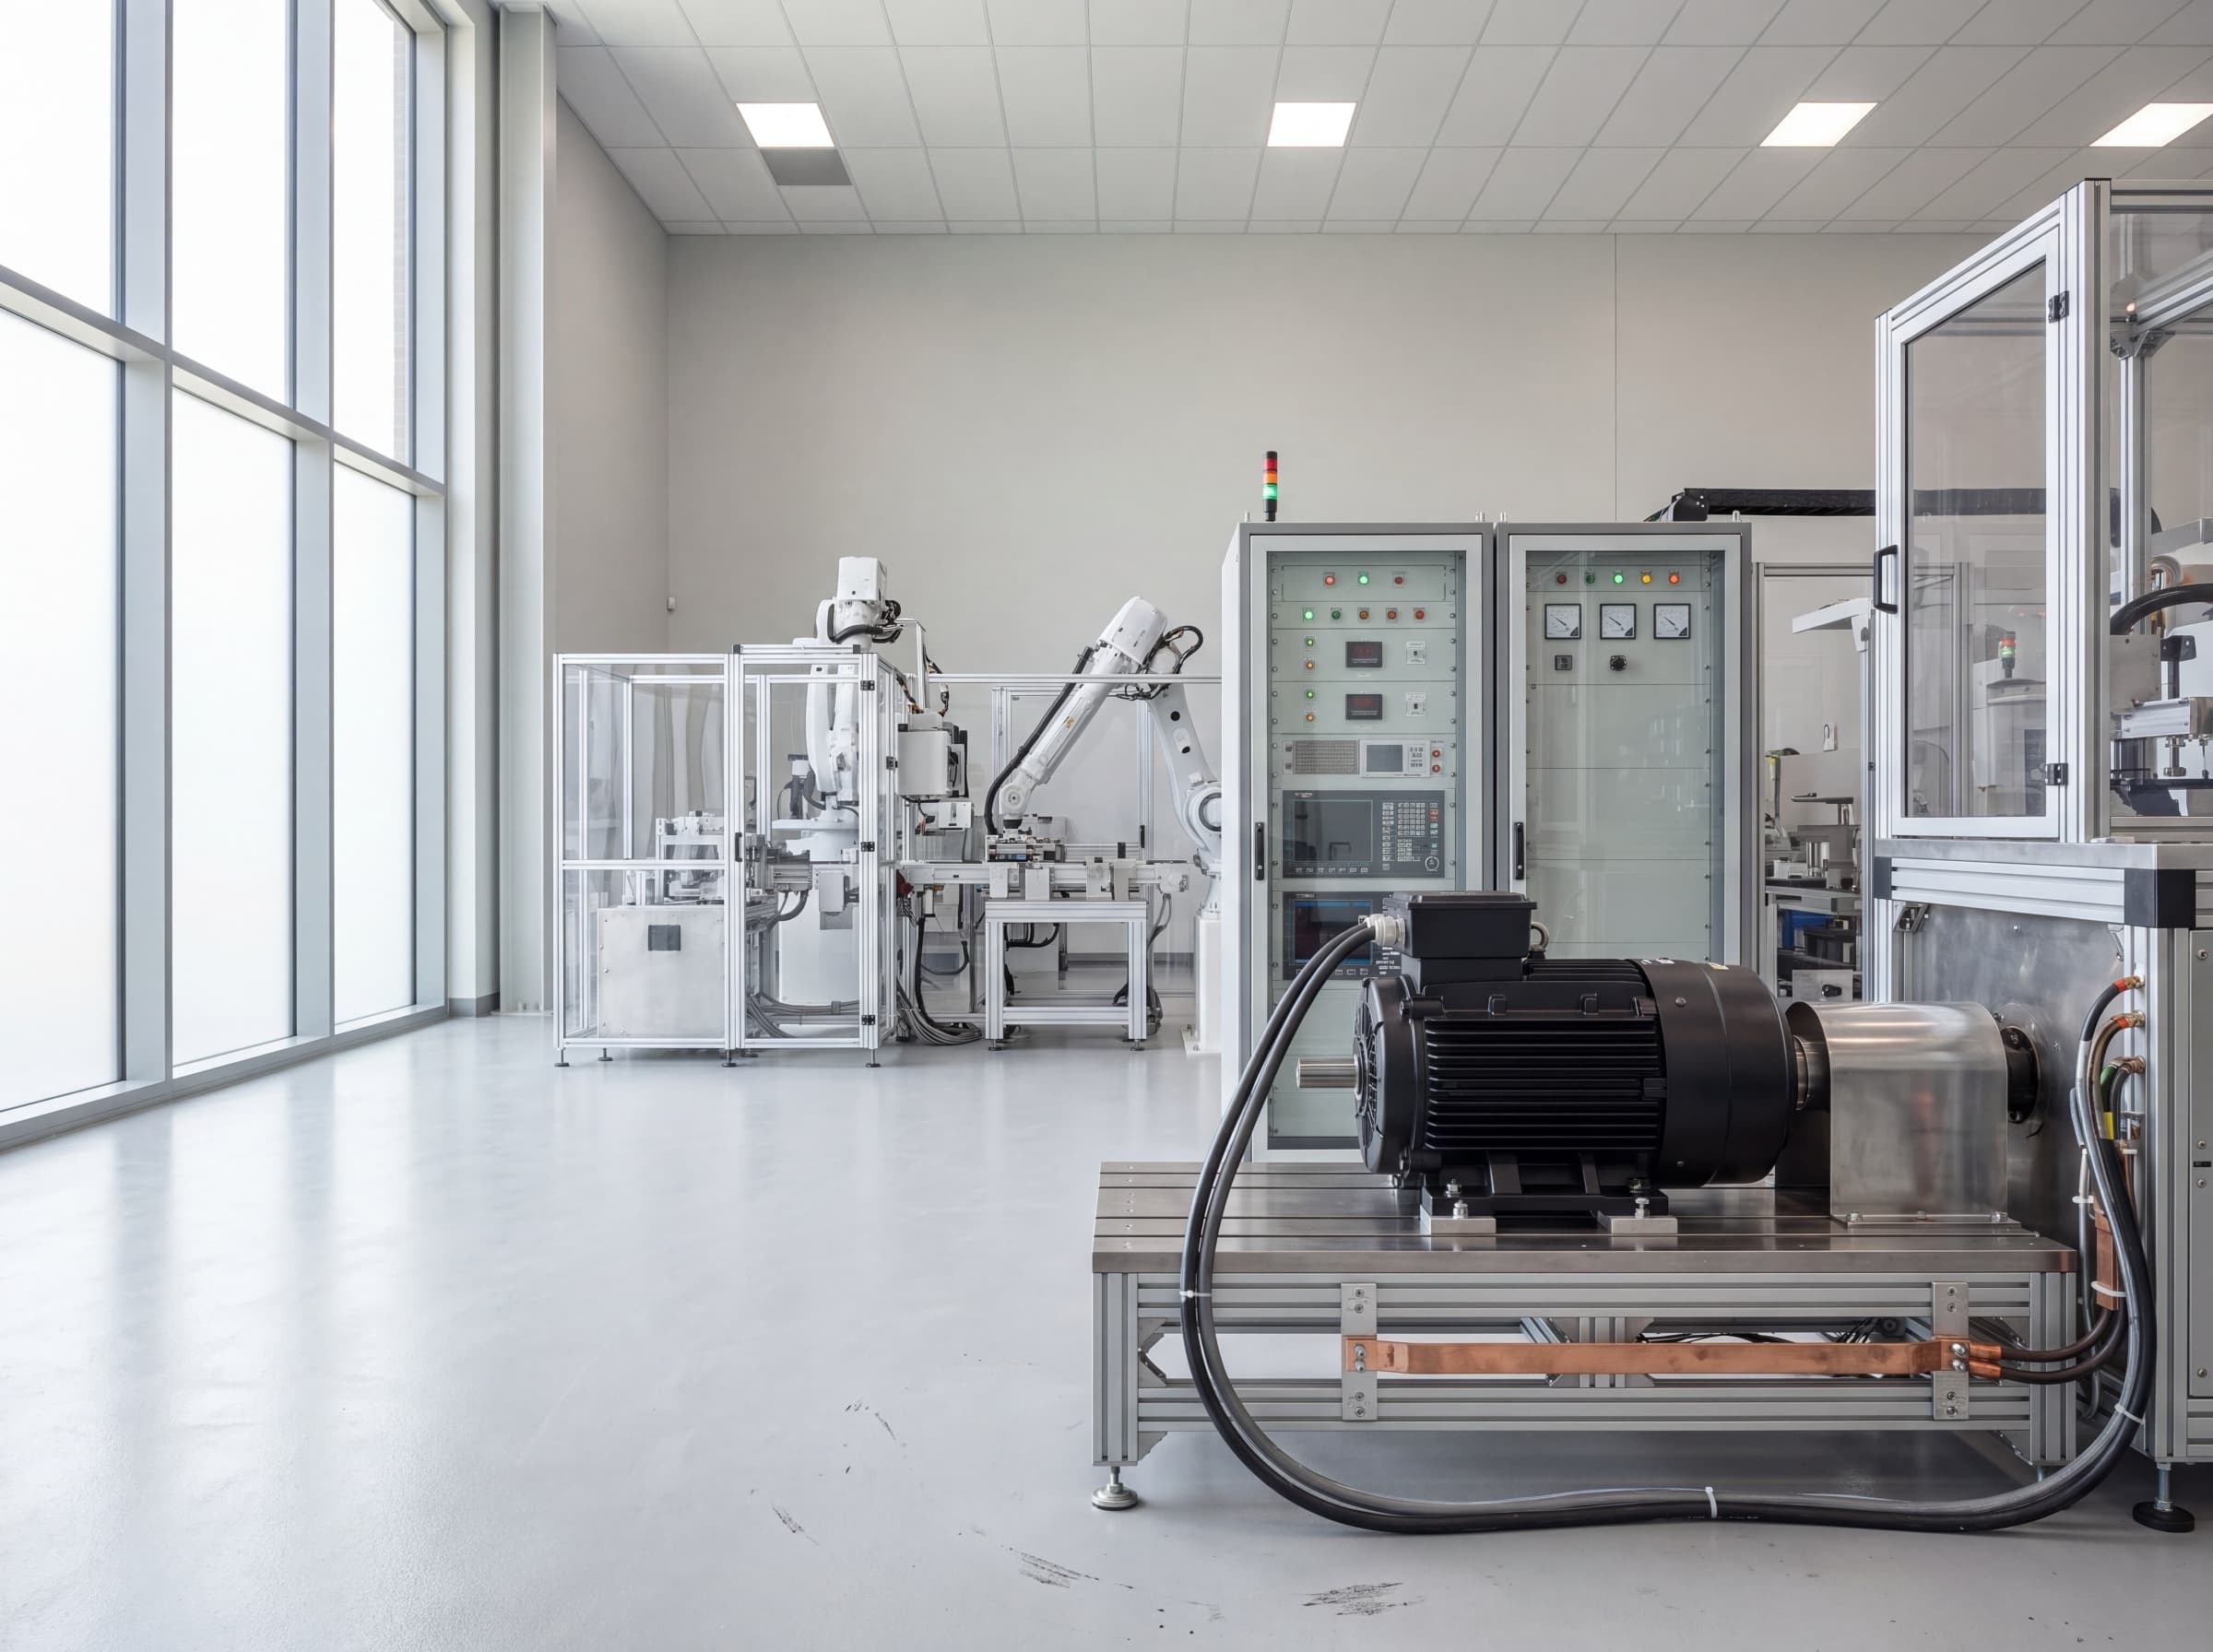
Test
Kv, phase resistance, operating temperature and output power are measured on every unit and recorded against its drawing. What does not match does not ship.
Fixes: Proves stages 01 – 03
Measured on every unit.
Four numbers are taken before a motor is boxed, and recorded against its drawing. What does not match does not ship.